Step 1: Ideas
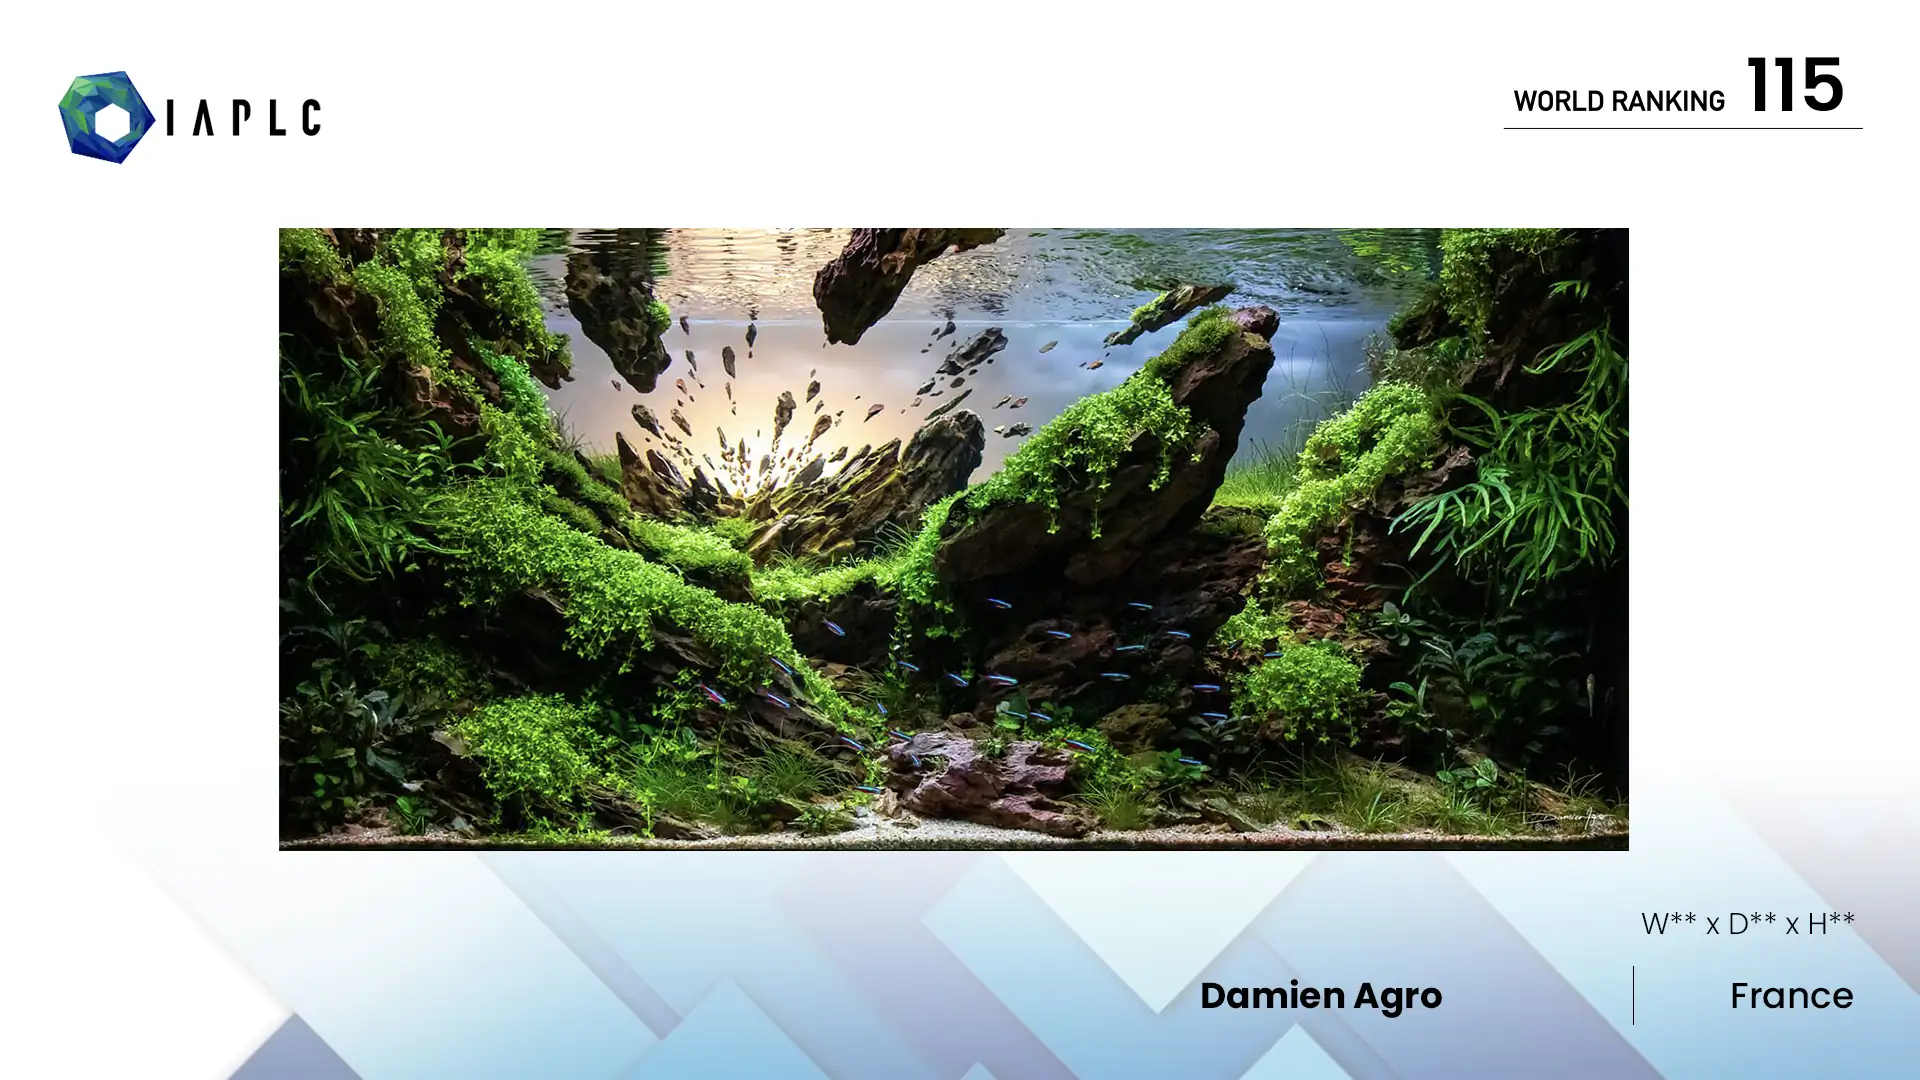
This year I wanted to stage something very personal. Reflects, for me, a profound fear directly impacted by today’s events. (meteorite, nuclear war, human destruction... ) We can all imagine and interpret this photo in many ways. The paradox between the beauty of nature and the far-fetched, inevitable and destructive drama. This fragile ecosystem that is the next moment reduced to nothing. Even if the message is relatively sad and negative I hope you will keep in mind this painting that makes us think in the future.
Aquarium #oasefrance Scaperline 100
100x50x50 (250 liters).
Filtration oase biomaster thermo 850
Co2 extinguisher and ignition 2 hours before turning on
Skylight hyper spot lighting M 6h a day.
Step 2: Materials
First stage of pozzolana to quickly gain height and have good bacterial support. The aquarium is an oase scaperline 100 in extraclear glass. A wonder
Step 3: Hardscape


Setting up the hardscape, I have a suction cup to represent my final point. (golden ratio)

Pierre ohko stone.


I start placing the stones in levitation, for this I create a specific plexiglass support.

I also glue the small stones directly on the bottom glass with hot glue. It will be a failure at the impoundment, the stones come off.


The planting simulation is important to me and allows me to quickly project myself on the potential final result.

Here is the final version of my support for stones. Everything fits together perfectly.


A nod to Oase, to thank them for supporting me on this project and for equipping me with fully furnished and scaperline 100 aquarium. Biomaster thermo 850 filtration and maintenance products

The stone in the foreground and held by a clamp.


Hardscape completed
Step 4: Planting

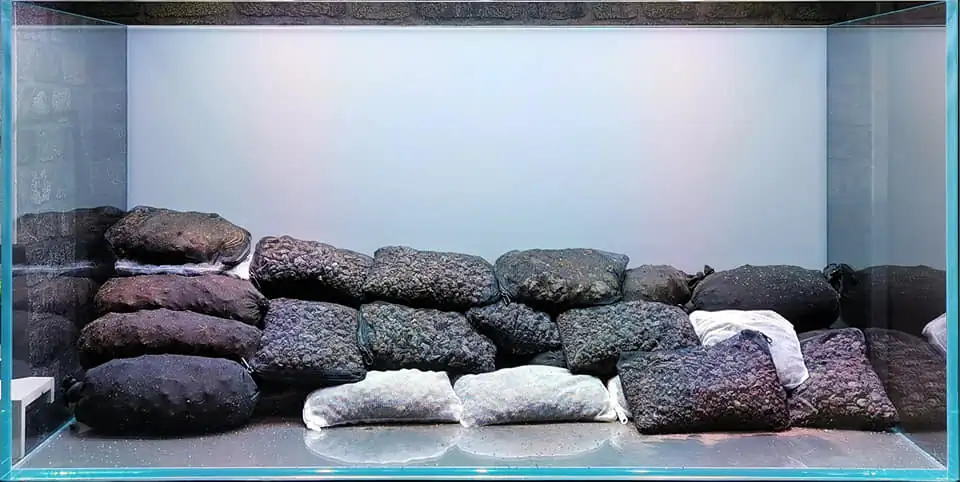
Beginning of planting (all plants provided by @dennerleplants


Filling

Put in water

I float ceratophyllum dermersun (hornwort). Very effective in countering algae at the start of the tank.

Step 5: Final

As I said above. The stones initially stuck to the glass at the bottom of the aquarium fell off when they were put in the water. So I found this solution to redo the explosion effect in the last shot. I redraw my background on paper, in the desired proportions. Installed an independent window and glued the stones. Precision is the key to the success of this effect

Close-up of the collage with the drawing behind as an aid.


Photo test the explosion effect is successful but the white line on the surface bothers me a lot. Another problem, the initial choice of fish is bad. We hardly see the pseudomugil furcatus on the surface. They merge with the stones. The favorite swimming area of this fish is on the surface. In my mind, I wanted to see fish swimming in front, in the foreground, below. I decide to change the fish to Paracheirodon axelrodi (cardinalis). A more classic fish but it swims in the middle and bottom. That's what I need

Test shooting with a darker atmosphere.

Photo finish made by me. With my canon 800d and canon EF-S 17-55f 2.8 lens. Thank you Johan Hubert for your advice on the choice of equipment.
Author Damien Agro / France


Leave your comments